Creating totems from spent mushroom blocks!
Congratulations! If you have arrived here as a result of having grown one of our Ready-To-Grow mushroom kits, you are in the right place to learn about repurposing your spent mushroom grow block!
What can you do with your mushroom block once it has given you several flushes of delicious mushrooms and is no longer producing? You could simply throw it in your compost pile, or you could set up a small gardening experiment using the steps below to repurpose and revitalize your spent mushroom block, and with a bit of luck get a large bumper crop in the late summer or early fall for years!
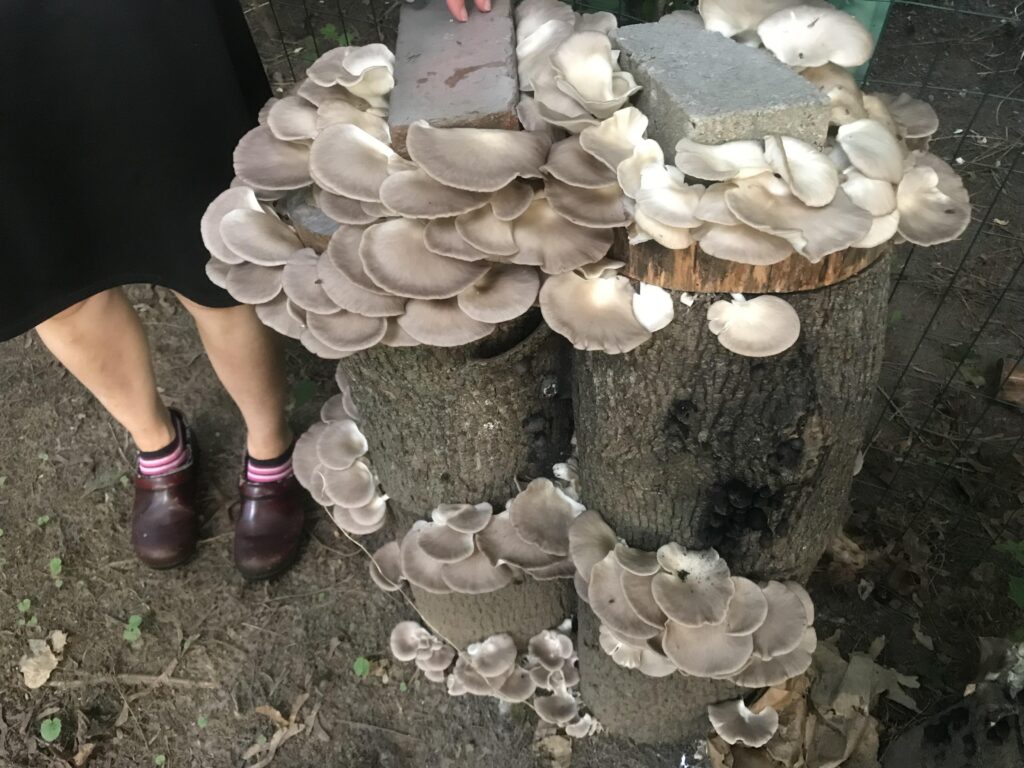
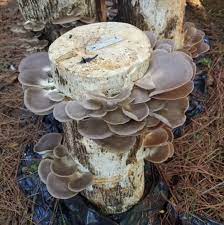
The following steps describe a fun, productive, and educational way to utilize the spent grow block to make a “Mushroom Totem”, aptly named for its resemblance to stacking logs like a totem pole.
NOTE
*** If your block became contaminated with mould during the Ready-To-Grow process, you might want to toss it in the compost to avoid a dissapointing totem experience. Mould can be a fast growing competitor, and may not allow your totem to work out. ***
Material
- Freshly cut hardwood such as poplar, maple, oak, box elder, etc. works well for this totem method, but use the table below to see what kind of wood your mushroom block is compatible with.
- A single spent block can inoculate approximately a totems made of 3 stacked pieces
- A large black plastic bags and rubber bands or tape to cover the totem during its first month of growth (so it doesn’t dry out).
Steps to make your totem:
- Log Preparation. (Ideally you will do this a couple of weeks before making the totem):
- Cut the logs (8-12˝ diameter x 8-16˝ length) from healthy, dormant trees. Oyster mushrooms thrive on “soft” hardwood species such as Cottonwood, Box Elder, Aspen, or Poplar, although other species are viable too.
- Ensure smooth, level cuts for easy stacking, and remove any branches so that stubs are flush with the log. Allow logs to rest for a minimum of 2 weeks before inoculating.
- Store logs in a shaded, moisture-retaining environment during this period to prevent drying out.
- Inoculation Process:
- Gather all materials in the chosen area. You may prefer to construct the totems in the garden as they are heavy and cumbersome to move around.
- Break up the spawn bag until crumbly, then place one cup of sawdust spawn at the bottom of a plastic garbage bag, spreading it into a pancake shape. Position a log directly on top of the spawn inside the bag, ensuring good contact.
- Sprinkle more spawn on the log’s top surface (⅛˝ to ¼˝ deep), then stack another log atop following the same procedure. Repeat if the bag size allows.
- Cap the top log with newspaper, brown paper, or a thin log slice to prevent spawn dehydration.
- Secure the bag loosely with a rubber band or tape, leaving a small opening for air exchange. Repeat this process for additional totems, ensuring each totem is inoculated with only one mushroom variety.
- Incubation:
- Protect totems from direct sunlight as black plastic bags absorb heat rapidly and will get too hot.
- Incubation typically lasts at least 4 months before totems are ready for outdoor fruiting.
- Fruiting Area Selection:
- Once incubation is complete, white mycelium should be partially covering the logs.
- Remove the plastic bag from the bags and ensure that the totems have some shade and will not dry out.
- Fruiting typically occurs around 6 months post-planting but can extend up to 12 months, depending on conditions and mushroom variety.
- Harvesting:
- Monitor the logs closely for fruiting, as mushrooms can appear rapidly and can also be past their prime quickly.
- Harvest by twisting mushroom clusters off the log when the caps’ edges are still curled down for optimal quality and shelf life